Easy 4-Ingredient Peanut Butter Kiss Cookies: Your New Go-To Recipe
Imagine a cookie that’s incredibly soft, wonderfully chewy, bursting with rich peanut butter flavor, and topped with a melty chocolate kiss – all from just four simple ingredients. Sounds like a dream, right? Welcome to the world of easy peanut butter kiss cookies, a beloved classic that proves you don't need a pantry full of specialized ingredients or hours in the kitchen to create something truly magical. These delightful treats are perfect for satisfying a sweet craving, sharing with loved ones, or making any day feel a little more special. Whether you're a seasoned baker or just starting out, this recipe is designed for delicious success, offering irresistible nutty, salty, sweet, and chocolatey notes in every single bite.
The Magic Behind 4 Simple Ingredients for Peanut Butter Kiss Cookies
The beauty of these soft and chewy peanut butter kiss cookies lies in their elegant simplicity. Just four core ingredients come together to form a dough that’s not only easy to work with but also delivers an incredibly rich flavor profile. This minimalist approach means fewer trips to the grocery store and more time enjoying warm, freshly baked cookies.
Your Essential Ingredients:
- Peanut Butter: The star of the show! For the best results and a smooth, consistent dough, opt for creamy peanut butter. While chunky varieties are fantastic for sandwiches, their texture can interfere with the delicate balance of this cookie dough. We're looking for that classic, familiar peanut butter taste, so a standard, processed creamy peanut butter (like Jif or Skippy) works wonderfully here. Natural peanut butter can be used, but you might need to adjust the texture by adding a touch more sugar or a bit of flour alternative if the dough is too oily or crumbly, as its oil content can vary significantly.
- Sugar: This recipe typically calls for white granulated sugar, providing essential sweetness and contributing to that desirable chewy texture. For a deeper, more nuanced flavor and an even softer cookie, some bakers love to experiment with a blend of sugars – perhaps a mix of granulated, light brown, and even a touch of confectioners' sugar. Brown sugar adds moisture and a slight caramel note, while confectioners' sugar can yield a melt-in-your-mouth tenderness. Feel free to play with the ratios to discover your perfect sweet spot!
- Egg: The humble egg acts as both a binder and a source of moisture and richness. It helps hold the dough together, ensuring your cookies don't crumble apart, and contributes to their lovely golden color and delicate crumb.
- Chocolate Candy Kisses: What's a peanut butter kiss cookie without its signature "kiss"? Hershey's Kisses are the traditional choice, adding a perfect dollop of milk chocolate that melts ever so slightly into the warm cookie. While milk chocolate is classic, don't hesitate to explore dark chocolate, white chocolate, or even flavored kisses for a delightful twist.
The Flourless Advantage: A Gluten-Free Delight
One of the most remarkable aspects of this recipe is its lack of flour. Yes, you read that right – no flour! This not only streamlines the baking process but also makes these peanut butter kiss cookies a fantastic option for those seeking flourless peanut butter kiss cookies: easy gluten-free delight. The peanut butter itself provides enough structure and richness, eliminating the need for any gluten-containing ingredients. It's a natural win for gluten-free cookie lovers, making these treats accessible to even more palates.
Crafting Your Perfect Peanut Butter Kiss Cookies: Beyond the Basics
Making these cookies is incredibly straightforward, often taking less than 10 minutes to whip up the dough. The real magic happens with a few simple techniques that ensure perfect results every time.
Mixing and Shaping for Success:
- Combine Wet and Dry: In a bowl, thoroughly beat the egg. Then, add your chosen sugar(s) and creamy peanut butter. Mix until all ingredients are well combined and form a cohesive dough. It should be firm enough to roll without being overly sticky.
- Roll into Balls: Scoop out portions of dough, about 1 tablespoon each, and roll them into smooth, uniform balls. Consistency in size ensures even baking.
- Bake Until Just Set: Place the dough balls on a baking sheet lined with parchment paper. Bake in a preheated oven (typically 350°F / 175°C) for about 8-10 minutes. The cookies should be lightly golden at the edges and appear slightly underdone in the center. Do not overbake! This is key to achieving that soft, chewy texture.
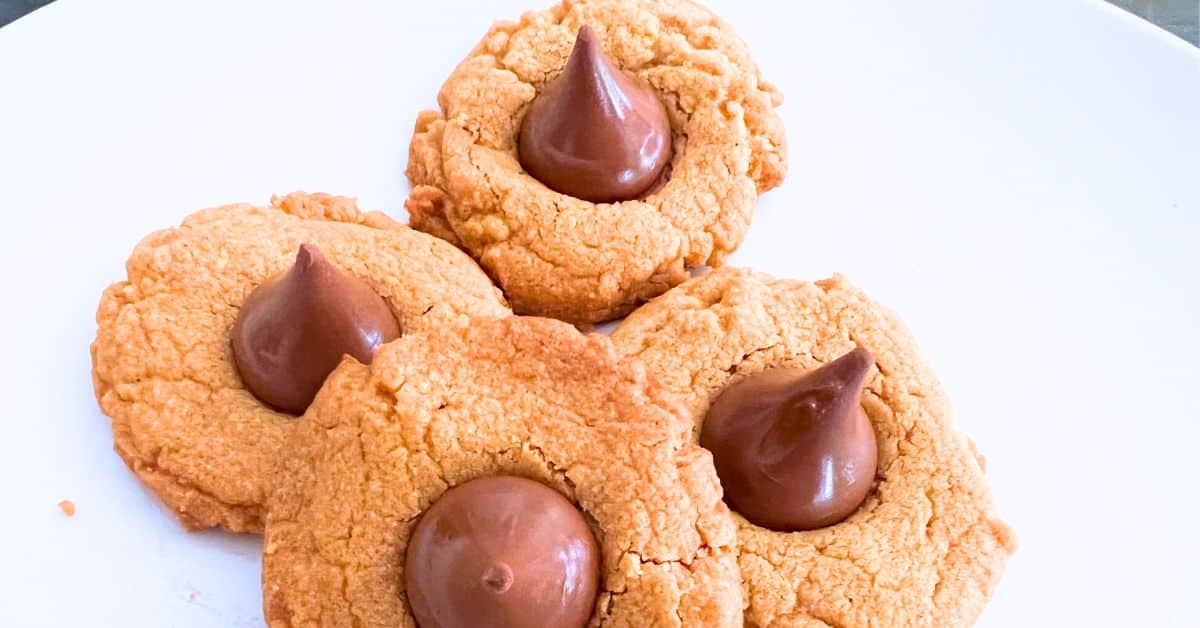
- The Iconic Kiss: Immediately upon removing the cookies from the oven, gently press a chocolate kiss into the center of each warm cookie. The residual heat will slightly melt the chocolate, allowing it to adhere perfectly and create that beautiful, classic "blossom" shape.
Optional Enhancements and Troubleshooting:
- A Pinch of Salt: While peanut butter is naturally salty, a tiny pinch of extra salt (about 1/4 teaspoon) can truly enhance the peanut butter flavor and balance the sweetness. It’s a small addition with a big impact!
- Vanilla Extract: Another subtle flavor booster, a teaspoon of vanilla extract can add depth and warmth to your cookies, complementing the peanut butter beautifully.
- No Kisses? No Problem!: If you don't have chocolate kisses on hand, or prefer a plain peanut butter cookie, simply skip the chocolate. Before baking, use the tines of a fork to create a classic criss-cross pattern on top of each dough ball. This helps them flatten slightly and gives them that traditional peanut butter cookie look. Without the kiss, the cookies tend to bake into lovely little mounds rather than flattening out entirely, which is perfectly normal.
Bake & Store Like a Pro: Maximizing Freshness and Convenience
One of the many benefits of these peanut butter kiss cookies is how well they store, making them an excellent choice for meal prep, gifting, or simply ensuring you always have a delicious treat on hand.
Make-Ahead Dough: Your Future Self Will Thank You
If you're looking to save time on baking day, preparing the cookie dough in advance is a fantastic strategy. While the dough itself only takes about 5 minutes to make, having it ready to go means fresh cookies are even closer at hand!
- Refrigerating Dough: Once mixed, wrap the dough tightly in plastic wrap and place it in an airtight container. It can be stored in the refrigerator for up to 3-5 days. When ready to bake, let it sit at room temperature for about 15-20 minutes to soften slightly, then roll and bake as usual.
- Freezing Dough: For longer storage, you can freeze the raw cookie dough. Wrap it well in plastic wrap, then place it in an airtight freezer-safe container or bag. The dough will keep beautifully in the freezer for up to 3 months. When you're ready to bake, thaw the dough in the refrigerator overnight or at room temperature until pliable, then proceed with the recipe.
- Freezing Dough Balls for Instant Baking: For ultimate convenience, roll the dough into individual balls and then freeze them on a baking sheet until solid. Once frozen, transfer the dough balls to a freezer-safe bag or airtight container. You can bake these straight from frozen – just add a couple of extra minutes to the baking time. Press a fresh Hershey's Kiss into the warm cookie right after baking for that perfect melty chocolate top! This method is a game-changer for spontaneous cookie cravings.
Storing Baked Peanut Butter Kiss Cookies:
Once baked, proper storage ensures your cookies remain soft, chewy, and delicious for as long as possible.
- Room Temperature Storage: Allow the cookies to cool completely on a wire rack before storing. This is crucial to prevent condensation, which can make them soggy. Once cool, store them in an airtight container at room temperature. They will stay fresh and soft for up to 5-7 days.
- Preventing Smudged Kisses: To keep the chocolate kisses looking pristine and prevent them from smudging or sticking together, avoid stacking the cookies before they are fully cooled. If you need to layer them in your container, place a piece of parchment paper or waxed paper between each layer.
- Freezing Baked Cookies: These cookies also freeze well after baking. Once completely cooled, arrange them in a single layer on a baking sheet and freeze until solid. Then, transfer them to a freezer-safe container, separating layers with parchment paper. Thaw at room temperature for a few hours, or for a warm, fresh-baked feel, pop one in the microwave for 10-15 seconds.
Variations & Personal Touches
While the classic peanut butter kiss cookie is perfect as is, there's always room for creativity! Experiment with different types of chocolate kisses – dark chocolate for a richer flavor, white chocolate for a sweeter contrast, or even caramel-filled kisses for an extra surprise. You could also roll the cookie dough in granulated sugar before baking for a sparkling finish, or try adding a few mini chocolate chips into the dough itself for an extra chocolatey punch (just be mindful this adds to the ingredient count!). For a fun holiday twist, use sprinkles or colored sugars. The possibilities are endless for making these already fantastic cookies uniquely yours.
Conclusion
From their incredibly simple four-ingredient base to their delightful soft-and-chewy texture and iconic chocolate topping, peanut butter kiss cookies are a testament to how effortless baking can be. They're a perfect blend of nutty, sweet, and chocolatey goodness, offering a quick, satisfying treat that's also wonderfully adaptable for gluten-free diets. With these bake and store tips, you're not just making cookies; you're creating moments of joy and convenience. So go ahead, grab your ingredients, and whip up a batch of these darling and delicious cookies – your taste buds (and your family!) will thank you.
